
Showing posts with label Vegan. Show all posts
Showing posts with label Vegan. Show all posts
Tuesday, October 29, 2013

Wednesday, September 18, 2013
Apple Sandwich
I saw this idea on Pinterest and because I am an awesome mom and I knew my oldest, R, would love this, it is now, what's in her school lunch.

It is healthy! Lots of protein and fiber, without the highly processed, chemical filled, no nutritional value of bread.
Ingredients
Apple
Peanut Butter
Method
Cut off ends of apple
Slice into 4 slices
Use cute little cutters to punch out the core
Spread with peanut butter
Easy Pezzy, Lemon Squeezy, just the way making school lunches should be.
Happy Mom, Happy Daughter.

The two middle slices have more core. Use the cute punch.
The two end slices have a little core. Use a knife to remove.
Spread peanut butter.

Here is pictured the front and back.
No peanut butter squishing out.

Ta-Da!
Thursday, May 2, 2013
Mexican Rice and Black Bean Casserole
Going Vegan or Vegetarian does not need to be difficult or expensive. Mexican Rice and Black Bean Casserole uses basic pantry staples and because it is made with beans and rice, no need to worry about being hungry or not getting enough protein.

Ingredients
1 cup brown rice
3 cups water
8 oz of tomato sauce
1 tsp salt
1 tsp onion powder
1 tsp chili powder
1/2 tsp garlic powder
1/2 tsp cumin
1 can of drained black beans or 2 cups cooked
1 cup corn
Directions
Preheat Oven to 350
Add all of the ingredients to a casserole dish and stir
Bake for 1 to 1 1/2 hours, until rice is tender.
Notes
This will easily serve a family of four.
A salad of greens would make a nice side dish.
I often use canned corn and when I do, I use the entire can, so none go to waste.
This recipe is from the website MyPlantBasedFamily.com.
Monday, April 29, 2013
Fruit Leather - Strawberry Banana
Fruit Leather - Easy Peasy Lemon Squeezy and loved by R, what can be better?
Only fruit, no dairy, stabilizers or preservatives.
Ingredients
1 cup of strawberries, stems left on for added nutrition
1 banana, pealed
Directions
Blend strawberries and banana well in blender.
Pour onto Paraflexx or parchment paper.
Spread, making the circle thicker along the edges than in the middle.
Place in dehydrator for 4 to 8 hours depending on thickness.
Peal and flip, dehydrate for an additional 30 to 60 minutes to completely dry.
Cut into strips and store in a zip lock bag.
Hide from children.

Over ripe is best, rotten is not

Pour and spread into a nice circle
Pictured here is a Paraflexx tray liner which fits perfectly on an Excalibur tray
Kitchen parchment paper can be used

Excalibur Dehydrator

Peals easily
Thursday, April 18, 2013
Sweet Potato Chips

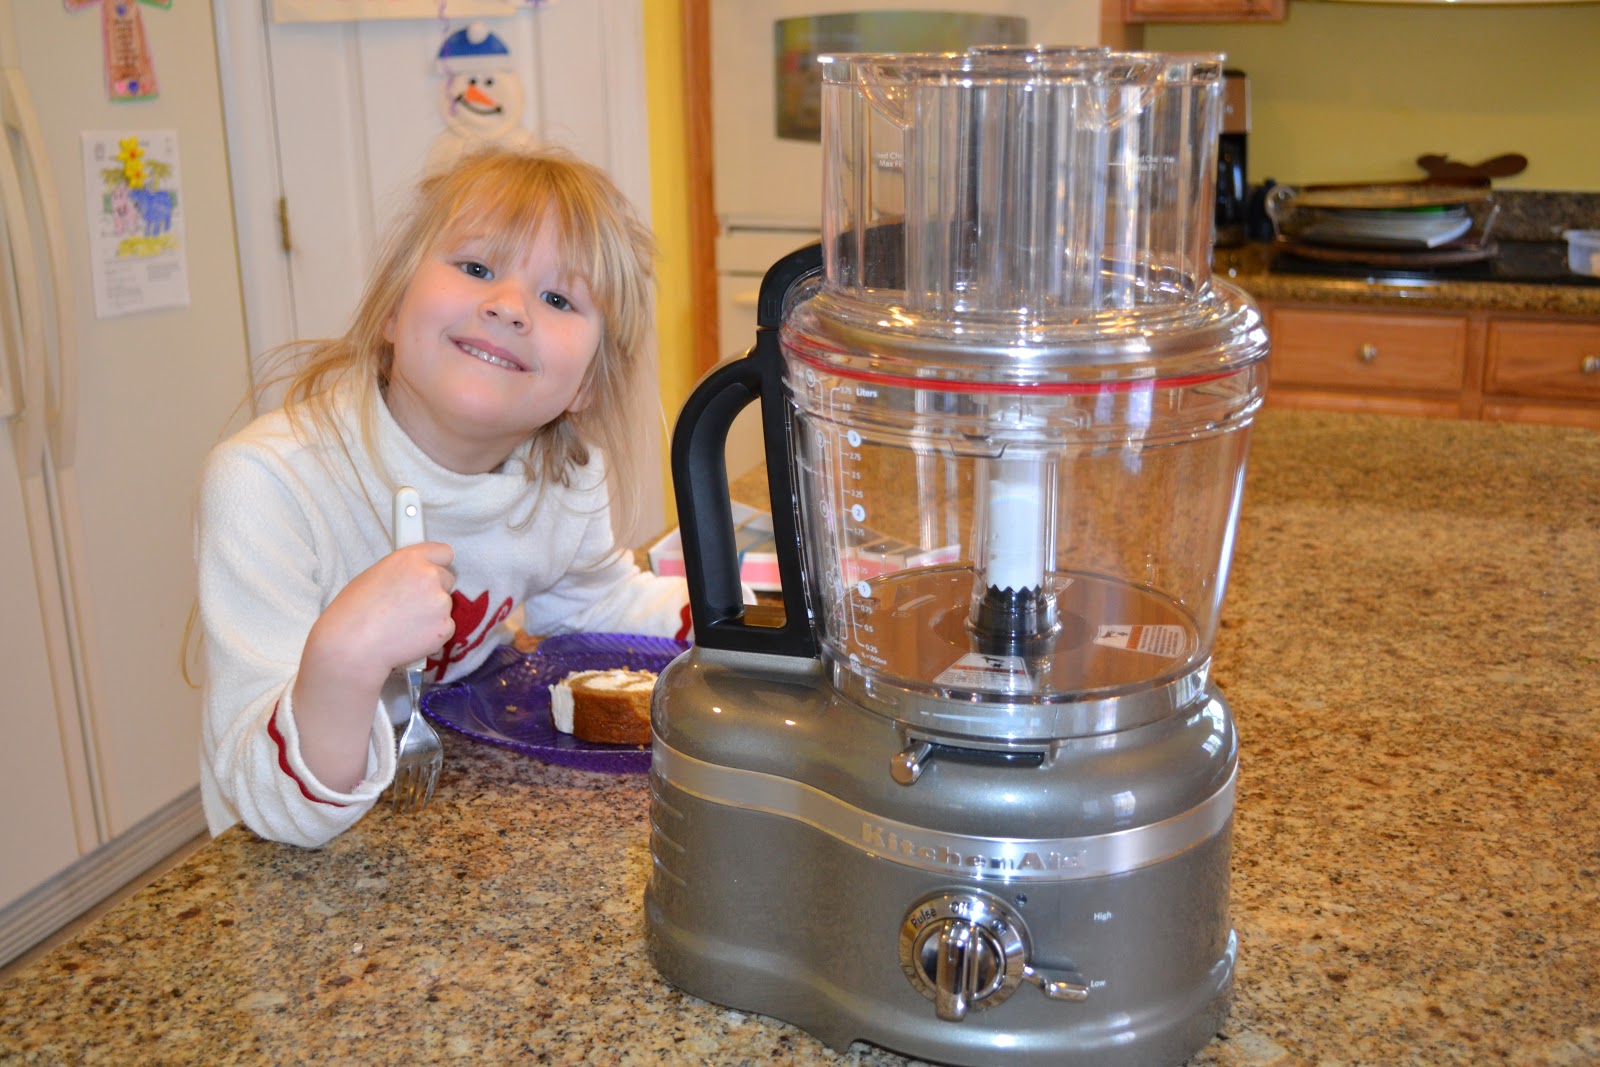
This is my new KitchenAid Pro-Line Dicing Food Processor and my adorable youngest, M.

These are my paper thin slices of sweet potato and apple which will be turned into chips.

Hot from the oven sweet potato chip, which lasted all of 15 minutes.
Last night I spent the evening reading the manual and sorting through all of the blades and attachments to my new food processor. The manual had a lot to be desired. I am thinking that the writers of this document thought that anyone buying this particular model was upgrading and knew something about food processors. I am not upgrading as I have spent the last 44 years of my life without owning one of these gadgets. Needless to say, all those blades and setting are a little intimidating.
Now that I have this fancy toy I had to make something right away. Being that I have an abundance of sweet potatoes in the house, sweet potato chips seems like an excellent starter dish. I searched the internet and found that most recipes use a lot of olive oil which is not something I wanted to do. Several recipes used the oven, several used a dehydrator and one used the microwave. Well, I certainly didn't want to wait 10 hours for my chips and my microwave is loud and does not hold many chips, so I decided that the oven was for me. The following is what I came up with.
Ingredients
Sweet Potato
PAM
Salt
Directions
Wash and dry sweet potato.
Slice very thinly using food processor.
Spray a light coating of PAM on a cookie sheet.
-my one potato used two cookies sheets.
Spread the slices on the cookie sheet without overlapping.
Spray a light coating of PAM on the potato slices.
-this helps the salt to stick.
Sprinkle with just a touch of salt.
-if you are going to omit the salt, also omit the coating of PAM on the chips.
Oven temp is 375 for about 20 minutes, flipping halfway through the cooking time.
-depending on the thickness of the chips, the cooking time may be longer.
-chips can burn fast so keep an eye on them toward the end of the cooking time
-the chips are so thin that they will cool down immediately.
Banana Bread Bites - Oven Not Needed
Today I really wanted to make an effort to use this new toy of mine. The Kitchen Aid Pro Line Dicing Food Processor. It came with various blades which I am greatly intimidated by, but am slowing learning to use. I decided that today I would make almond flour so that I could make Banana Bread Bites. The Banana Bread Bites recipe, originally is found on the MyWholeFoodLife web site.
 |
| KitchenAid Pro Line Dicing Food Processor |
 |
| Almond Flour |
 |
| Banana Bread Bites |
Ingredients
2 cups of almonds
1 ripe banana, sliced
10 to 12 pitted medjool dates
Directions
In a food processor grind the almonds into a fine consistency.
* I used a sifter to sift out the larger pieces, to roll my finished product in.
Add banana and dates and pulse until a dough starts to form.
Scrape down the sides of the bowl occasionally, to fully incorporate all of the ingredients.
Roll dough into little balls.
*If you sifted out the larger almond pieces, roll the balls in the almonds, at this time.
Place the balls on a baking sheet lined with parchment paper.
Place in the fridge to set.
These will keep in the fridge for several weeks.
I made 1/2 of the recipe and had 15 little balls when I was finished.
Friday, March 8, 2013

Monday, March 4, 2013
It's Whats for Lunch
Easy, portable, low calorie and good for you.
Diary free, Soy free, Gluten free.

Sunday, March 3, 2013
Vegetable Broth
Recently I cleaned out our freezer.
Out went the meat.
Out went the cabbage.
Out went the chicken bones.
The meat found a new home.
The cabbage missed the garbage truck by 1/2 hour and spent the week fermenting in the garage.
My stock pile of chicken bones was going to be turned into chicken broth, but hey, wait a minute. Isn't chicken broth an animal product? Oh, yes it is! Problem. I can live without meat and I can live without cabbage but chicken broth is used in so many recipes. What is a girl to do? Make my own and with the help of my new friend, The Happy Herbivore, that is what I set out to do.


Out went the meat.
Out went the cabbage.
Out went the chicken bones.
The meat found a new home.
The cabbage missed the garbage truck by 1/2 hour and spent the week fermenting in the garage.
My stock pile of chicken bones was going to be turned into chicken broth, but hey, wait a minute. Isn't chicken broth an animal product? Oh, yes it is! Problem. I can live without meat and I can live without cabbage but chicken broth is used in so many recipes. What is a girl to do? Make my own and with the help of my new friend, The Happy Herbivore, that is what I set out to do.

Look at all these pretty vegetables

12 - 1 cup containers of vegetable broth
The following recipe is taken from The Happy Herbivore, written by Lindsay Nixon.
Ingredients
1 onion, peeled
1 large carrot
1 celery stalk
3 to 4 garlic cloves, peeled
1 to 2 tsp yellow miso
4 whole peppercorns
1 bay leaf
3 to 5 oz fresh or dried herbs (any)
I used oregano, thyme and rosemary
Plus any three of the following
1 small brown potato
2 to 4 small red potatoes
1 cup of mushrooms
1 bell pepper, seeded
1 medium turnip
1 medium zucchini
1 parsnip
1 leek
cider vinegar - splash (optional)
Directions
Add ingredients except vinegar to a large pot with 8 to 10 cups of water.
Bring to a boil.
Reduce heat to low and simmer until the vegetables are falling apart, about 1 hour.
Turn off heat and allow to cool.
Remove vegetables.
Add cider vinegar if using.
Strain liquid.
Store in 1 cup containers.
This will keep in the fridge for up to three days or indefinitely in the freezer.
Note: To make this soy free remove the miso and add salt to taste.
Ingredients
1 onion, peeled
1 large carrot
1 celery stalk
3 to 4 garlic cloves, peeled
1 to 2 tsp yellow miso
4 whole peppercorns
1 bay leaf
3 to 5 oz fresh or dried herbs (any)
I used oregano, thyme and rosemary
Plus any three of the following
1 small brown potato
2 to 4 small red potatoes
1 cup of mushrooms
1 bell pepper, seeded
1 medium turnip
1 medium zucchini
1 parsnip
1 leek
cider vinegar - splash (optional)
Directions
Add ingredients except vinegar to a large pot with 8 to 10 cups of water.
Bring to a boil.
Reduce heat to low and simmer until the vegetables are falling apart, about 1 hour.
Turn off heat and allow to cool.
Remove vegetables.
Add cider vinegar if using.
Strain liquid.
Store in 1 cup containers.
This will keep in the fridge for up to three days or indefinitely in the freezer.
Note: To make this soy free remove the miso and add salt to taste.
Thursday, February 7, 2013
Flash-Roasted Vegetables and Rice with Chipotle Tomato Sauce
This rice dish is a little different. It is over rice but does not have the usual Asian flair, more Spanish or Mexican.
This recipe is from the Jan/Feb 2013 issue of Vegetarian Times. I found the vegetables a little on the mushy side and the spices a little intense, so I have scaled back on the roasting time and cut the chili power and chipotle chiles in half. This dish has great potential. To make it Vegan, just omit the crumbled queso fresco.
This will easily serve 4 and took less than 45 minutes to cut, roast and assemble. I assembled each persons serving into individual bowls instead of layering in a casserole like the original recipe called for.
Vegetables and Rice:
.JPG)
.JPG)
This recipe is from the Jan/Feb 2013 issue of Vegetarian Times. I found the vegetables a little on the mushy side and the spices a little intense, so I have scaled back on the roasting time and cut the chili power and chipotle chiles in half. This dish has great potential. To make it Vegan, just omit the crumbled queso fresco.
This will easily serve 4 and took less than 45 minutes to cut, roast and assemble. I assembled each persons serving into individual bowls instead of layering in a casserole like the original recipe called for.
Vegetables and Rice:
1 c white rice
2 small zucchini, cut on a bias into 1/4 in slices
2 small yellow squash cut on a bias into 1/4 in. slices
2 small red bell peppers, seeded and cut into 1/4 in rings
2 tbs olive oil
1/2 to 1 tsp chili powder
4 oz. queso fresco, crumbled (optional)
Chipotle Tomato Sauce:
1 or 2 chipotle chiles in adobo sauce
2 cloves garlic, minced (2 tsp)
1 14.5 oz can of fire roasted diced tomatoes
1 tablespoon olive oil
1 large white onion, halved and sliced 1/4 inch thick
1) Preheat oven to 475 and coat 2 baking sheets with cooking spray.
2) Cook rice according to directions. I used my rice cooker.
3) Toss together eggplant, zucchini, and bell peppers with oil and chili powder. Spread on baking sheets and roast 15 minutes, or until tender. Turning occasionally.
4) To make the Chipotle Tomato Sauce, blend the chipotles and garlic in a blender until smooth. Add the tomatoes and pulse until almost smooth, leaving a little texture.
5) Heat oil in skillet over medium-high heat. Add onion and cook for 5 to 7 minutes. Stir in tomato mixture and reduce heat to medium. Simmer for 5 minutes or until thickened.
6) To serve, spread the rice in the bottom of a casserole dish. Top with the vegetable, than add the Chipotle Tomato Sauce. Sprinkle with the queso fresco, if using.
Notes:
Omit the queso fresco to make this dish Vegan.
To save calories, cook the onion in a thin layer of water instead of using the oil. Add water as needed.
In the summer months using tomatoes from the garden in the place of the can of fire roasted diced tomatoes would certainly work.
To reduce clean up, assemble into individual bowls.
This is dish creates a complete meal and a side dish was not necessary.
The pictures are from The New Year Challenge blog. Thank you for saving me a step.
Thursday, January 31, 2013
Granola Bars
This recipe for Granola Bars is from Everyday Happy Herbivore cookbook written by Lindsay Nixon. This snack is gluten-free and mixes up in just a few minutes.

Makes 5 (or 4 when I do the cutting)
Ingredients
1 cup of instant oats
1/2 teaspoons of vanilla extract
3 tablespoons of unsweetened applesauce
3 tablespoons of agave nectar
2 tablespoons chocolate chips
1 to 2 tablespoons sugar (optional)
Directions
Directions
1) Stir all of the ingredients together
2) Once combined, let the batter rest while the oven preheats to 325F
3) Grease a bread pan and pack the mixture down firmly and tightly
4) Bake for 20 minutes, or until golden, firm and light brown around the edges
5) Let cool in the pan for 10 minutes before cutting
Nutritional Information
99 Calories
2 Grams of Fat
1.1 Gram of Fiber
13.6 Grams of Sugar
1.6 Grams of Protein
Roasted Red Pepper Vinaigrette
Roasted Red Pepper Vinaigrette is a salad dressing which is both easy to make and flavorful. This recipe is both oil and dairy free.

Ingredients
1 large roasted red pepper
1 clove garlic
2 tablespoons balsamic vinegar
1/8 teaspoon salt
1/4 teaspoon pepper
1/2 teaspoon fresh thyme leaves
Directions
Blend all of the ingredients using either a blender or food processor
Shake before pouring
Subscribe to:
Posts (Atom)